
Are you looking for a way to waterproof your plaster of Paris projects?
You want to protect your project from water damage but know where to start.
You’ve tried researching online and still feel overwhelmed with all the conflicting information out there.

Don’t worry! This article covers everything you need to know about how to waterproof plaster of Paris. It covers the steps to protect your creations, such as applying sealant before use and drying them off quickly if exposed to moisture.
With the right materials and a little effort, your plaster of Paris projects will turn out beautifully every time. So don’t wait any longer and follow these simple steps to waterproof your plaster of Paris.
Why Should You Waterproof Plaster of Paris?
Plaster of Paris is a versatile building material that can be used for many different projects.
Unfortunately, when exposed to water, it can become damaged and deteriorate, making it essential to waterproof the plaster for long-term protection.
Waterproofing your plaster will help maintain its strength and integrity and allow you to enjoy its use in areas where it may be exposed to moisture.
Tools and Materials Needed:
- Plaster of Paris
- Acrylic sealer
- Paintbrush
- Waterproofing compound (liquid or powder)
- Sandpaper or sanding block
- Sponges/rags for cleaning
8 Steps to Follow: How to Waterproof Plaster of Paris
Step 1. Prepare the Surface:
Before starting, you need to ensure that the plaster’s surface is clean and free from any dirt or debris.
Use sandpaper or a sanding block to smooth out any rough spots on the plaster lightly. Once finished, wipe down the entire surface with a damp cloth to remove dust particles.
Step 2. Apply Acrylic Sealer:
After the surface is clean and smooth, you can apply an acrylic sealer to help protect the plaster from water damage.
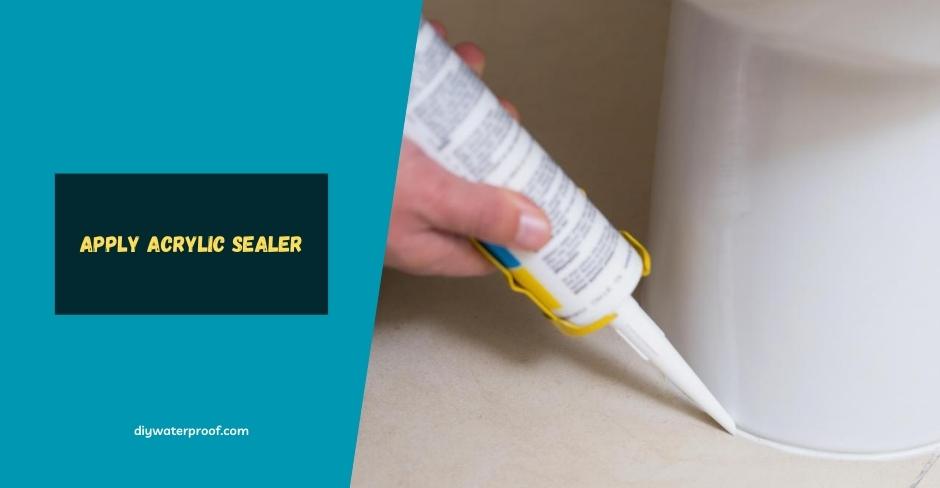
Apply a thin layer of sealer using a paintbrush or roller and let it dry completely before moving on. Make sure to follow the manufacturer’s instructions for best results.
Step 3. Apply Waterproofing Compound:
Once the sealer has dried, you can further apply a waterproofing compound like a liquid or powder to protect the plaster from damage due to water exposure.
Make sure to evenly spread the compound using a brush and let it dry completely before handling the plaster.
Step 4. Seal the Plaster Object:
After the waterproofing compound has dried, you can use a brush to apply another layer of acrylic sealer for added protection.
Make sure not to miss any spots, and let the sealer dry completely before handling the plaster. If your project requires painting, wait until the sealant is completely dry before starting.
Step 5. Allow to Cure:
Allow your waterproofed plaster of Paris object to cure for at least 24 hours before handling it or applying any additional layers of paint or decoration.
This will ensure that all the components are properly bonded and will offer protection against water damage. If the plaster is placed in a damp environment, you may need to apply additional layers of sealant for added protection.
Step 6. Apply the Paint Colors:
Once the waterproofing and sealing steps have been completed, you can apply any desired paint colors. Make sure to use waterproof paint, as this will help keep moisture away from the plaster and further protect it from damage.
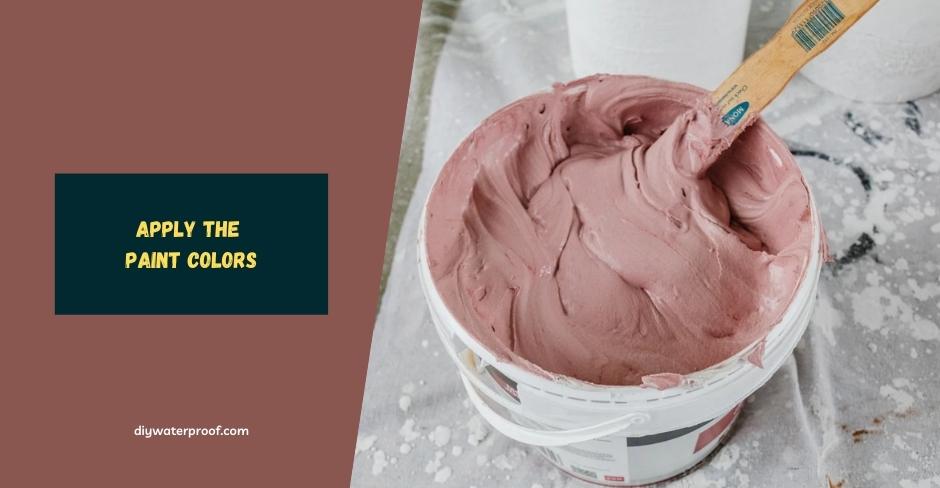
If your project requires adding additional decorative items, wait until the paint has dried before starting.
Step 7. Let the Paint Dry Completely:
Allow your paint to dry completely before handling the plaster object. This will ensure that all components are properly bonded and will provide maximum protection against water damage.
If you need to add any additional layers of paint, wait until the first layer has dried before starting.
Step 8. Enjoy Your Finished Product:
Your Plaster of Paris project is now ready for use, thanks to the waterproofing steps you’ve taken! Feel free to enjoy your creation, and remember that with proper care and maintenance, it can last many years.
If you find that the plaster is exposed to moisture, dry it off and apply additional layers of sealant as needed.
Following these steps will help keep your plaster of Paris projects looking great and lasting longer, even in wet conditions. Take the time to properly waterproof your plaster before using it, and you’ll have beautiful results that last.
Follow This Tips When Waterproofing Plaster of Paris:
- Allow each coat to dry fully: Before adding another waterproof layer, make sure that the last coat of sealant has dried completely. This could take up to 24 hours, depending on the type and amount of sealant used.
- Ensure smooth application: When applying the sealant, use a brush or sponge to ensure an even coat throughout your project. This will help prevent air bubbles and rough patches.
- Protect from moisture: If using a sealant that can be weakened by moisture, take extra precautions to protect your project from the elements. This may include covering it with a waterproof tarp or plastic sheet when not in use.
- Sand down any bumpy areas: Check for any bumps or uneven patches in your sealant job. If any exist, use medium grit sandpaper to even them out before sealing again. Make sure to clean the area before resealing.
- Inspect periodically: Check your sealant job every few weeks or months to ensure it still performs well. If any areas appear to be wearing down, reseal them. Always be sure to clean the area before resealing.
Benefits of Waterproofing Plaster of Paris:
Durability:
Waterproofing the plaster will help protect it from moisture and other elements, making it last longer.
If your plaster will be exposed to wet conditions, waterproofing it is a must. Make sure to apply the layers of sealant evenly and let them dry completely before handling the plaster.
Protection Against Damage:
Waterproofing the plaster can help prevent damage from water exposure and other environmental factors like extreme temperatures.
This can save you time and money by reducing the need for repairs or replacements down the road. If your project is exposed to wet conditions, waterproof it properly.
Increased Longevity:
By taking the time to waterproof your plaster of Paris projects, you can help increase their lifespan significantly.
This can provide peace of mind knowing that your projects are well protected and can last much longer than if you hadn’t taken the time to waterproof them.
Better Quality Finish:
A properly waterproofed object will be more resistant to water damage and look better in the long run.
Waterproofing the plaster of Paris will also help create a smoother finish that looks more professional. If the object is used outdoors, this is especially important.
Cost Effective:
Waterproofing your projects is often more cost-effective than buying new materials or repairing them later on down the line.
This can be great for DIYers looking to save money while still getting great results from their projects. If you’re looking for a cost-effective way to waterproof the plaster of Paris, using a sealant or paint is often the best option.
What Happens When The Plaster of Paris Gets Wet?
When the plaster of Paris gets wet, it can weaken and start to break down. Water can also cause the plaster to swell, leading to cracks or chips in the material.
That’s why it’s important to waterproof your plaster projects properly before using them in places where they may get wet. If your plaster does get wet, dry it off as soon as possible and apply additional layers of sealant or waterproofing compound.
This will help keep the plaster in good condition and protect it from further damage. Also, avoid immersing your plaster projects in water for the best results.
Keeping these tips in mind when working with Plaster of Paris will help ensure your projects are protected and look great for years to come.
Frequently Asked Questions:
Can you paint the Plaster of Paris?
Yes, you can paint your Plaster of Paris project. However, it is important to ensure the plaster is completely dry and sealed before applying any paint.
First, You should use a primer to ensure the paint adheres well to the surface. If your project goes outdoors, you should use outdoor-grade paint designed to withstand the elements.
What can I add to the Plaster of Paris to make it waterproof?
A water-based acrylic sealer is recommended for Plaster of Paris projects as it will help to protect the surface and keep moisture out. Make sure to apply two coats, allowing the first to dry before applying the second.
This will help ensure that your project is waterproof and long-lasting. You can also use a sealant or varnish for added protection, but make sure it’s water-based so it won’t damage the plaster.
Is Plaster of Paris safe for the environment?
Generally, Plaster of Paris is considered safe for the environment as it’s a natural product made from gypsum.
However, it can be harmful if ingested, so keep it away from children and pets and wear protective gear such as gloves and a mask when working with it. After use, dispose of any Project scraps in the proper manner.
Additionally, properly clean up and wash any tools you use for working with Plaster of Paris before storing them away. This will help ensure no residue remains on the tools, which can be harmful when used again.
You should also check with your local laws and regulations before disposing of any Plaster of Paris waste.
To Summarize
Plaster of Paris can be a great material to work with for crafting projects.
However, it’s important to waterproof the project as soon as possible and apply additional layers of sealant or waterproofing compound to protect it from further damage.
By following these simple steps, your plaster projects will last much longer and look fantastic!
Now that you have read this article on how to waterproof Plaster of Paris, why not take on an even more significant challenge?
Put your newfound knowledge into practice and tell us how it goes – we would love to hear about all the amazing things you’ve created!
Recommended Reads:
