
You’re getting ready to move, and as you start packing, you realize that most of your belongings are wrapped in cardboard boxes. Suddenly, you remember that the weather forecast calls for rain on a moving day, and you start to panic.
Will all of your cherished possessions be ruined by water damage?
Alternatively, maybe you have a creative DIY project in mind, and you want to use cardboard as your medium. However, you’re worried that your finished product won’t last long if it comes into contact with water.
Fortunately, making cardboard waterproof at home is easy and practical!
By following a few simple steps on how to make cardboard waterproof at home, you can ensure that your cardboard will withstand moisture and keep your belongings or projects safe, no matter the weather.
5 Common Challenges People Face When Waterproofing Cardboard at Home
Many people struggle with making cardboard waterproof at home. Here are five common challenges people face when they don’t know how to make cardboard waterproof at home.
1. Water damage
One of the most common challenges people face when they don’t know how to make cardboard waterproof is water damage. When cardboard gets wet, it can become weak and start to fall apart. Not only is this frustrating, but it can also be costly if your cardboard is protecting important items from water damage.
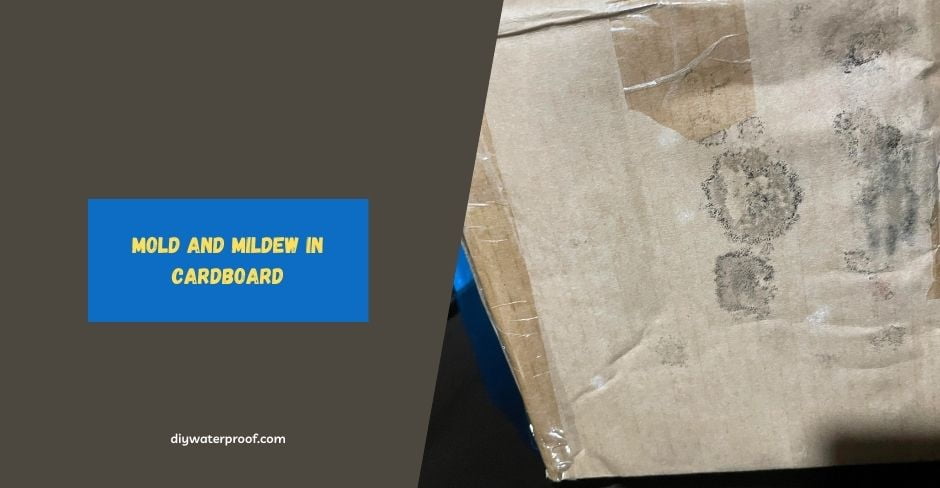
2. Mold and mildew
Another challenge people face when they don’t know how to make cardboard waterproof is mold and mildew. When cardboard gets wet, it can create an environment that’s perfect for mold and mildew to grow. This not only looks unsightly, but it can also be harmful to your health.
3. Difficulty in cleaning
If you’re using cardboard as a creative medium, you want it to look good. Unfortunately, when cardboard gets wet, it can become difficult to clean. Water stains and dirt can leave unsightly marks that are hard to remove. This can ruin the look of your project and make it difficult to reuse your cardboard.
4. Short lifespan
People who don’t know how to make cardboard waterproof at home often find that their cardboard doesn’t last very long. Water damage can cause the cardboard to become weak and fall apart quickly. This can be frustrating, especially if you’ve invested a lot of time and effort into a project.
5. Lack of protection
Finally, when people don’t know how to waterproof cardboard at home, they may not realize that their cardboard isn’t providing the protection they need.
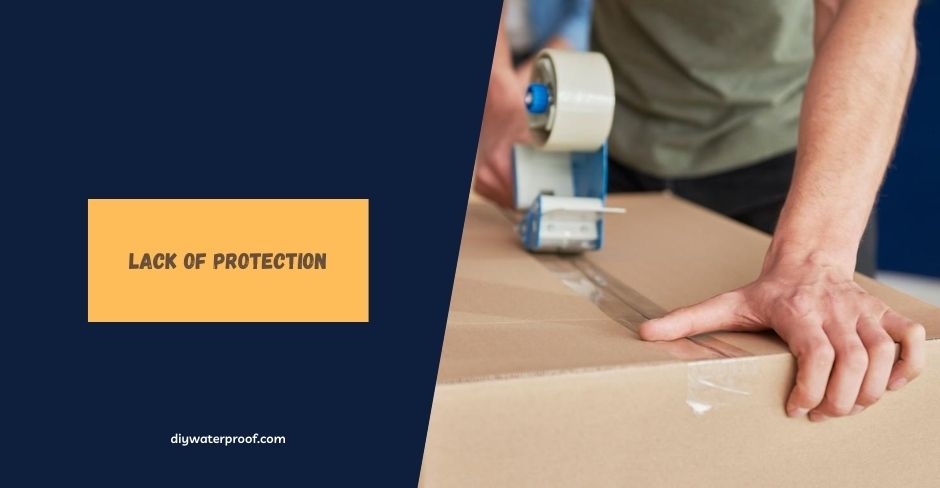
Whether it’s protecting important documents or valuable items during a move, if your cardboard isn’t waterproof, it may not be providing the protection you need.
So why wait? Start waterproofing your cardboard today and enjoy peace of mind knowing your belongings or projects are safe from water damage.
How to Make Cardboard Waterproof at Home: Step-by-Step Guide
Step 1: Gathering the Materials
Before you start waterproofing your cardboard, it’s critical to have all the necessary materials within reach. This not only makes the process smoother but also ensures the best possible result. Here is everything you will need to make your cardboard waterproof:
1. Cardboard: The first and most obvious material is the cardboard you intend to waterproof. Avoid using excessively thin or flimsy cardboard, as it may not hold up well under the waterproofing process.
2. Cleaning Supplies: The next essential item is a set of cleaning supplies, such as mild soap or detergent, a soft-bristled brush, and a clean cloth. It’s crucial to clean your cardboard thoroughly before beginning the waterproofing process to ensure that it adheres to the surface correctly.
3. Primer: Primer is a vital layer that seals in the moisture present in cardboard and protects it from water damage. Choose a water-resistant primer that works well with cardboard for optimal performance.
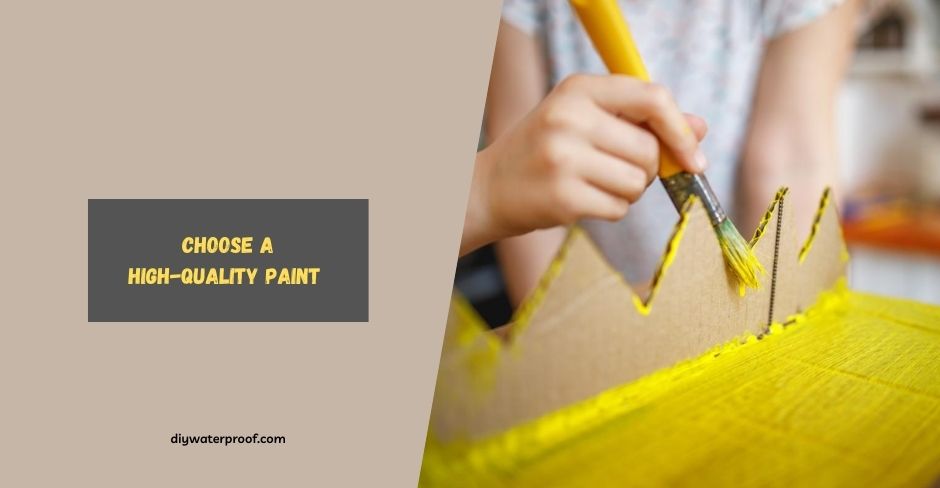
4. Paint: The next item you will need is paint. Choose a high-quality paint that is resistant to water and mold growth. You can use either spray paint or brush-on paint, depending on your preference.
5. Clear Sealant: Finally, a topcoat of clear sealant provides maximum protection against water damage, mold growth, and other potential threats. Ensure that the sealant is compatible with the paint you used for the best possible result.
With all the materials gathered and ready, the next step is to prepare the cardboard for the waterproofing process.
Step 2: Preparing the Surface of Your Cardboard
One of the critical steps in making cardboard waterproof is preparing the surface. It involves cleaning and prepping the cardboard to ensure that the primer and paint adhere to it correctly.
This step is essential because if the surface is not adequately prepared, the primer and paint may not bond well with the cardboard, leading to uneven coverage and water damage.
When preparing the surface of your cardboard, the first thing you need to do is to remove any dirt, dust, or debris. You can use a soft-bristled brush, a vacuum cleaner, or light sandpaper to clean it thoroughly.
It is important to note that you shouldn’t get the cardboard too wet, as excessive moisture can cause it to warp or buckle.
Once the surface is clean and dry, you can proceed to apply the primer. The primer acts as a sealant, helping to lock in the moisture present in the cardboard and protect it from water damage. It also enhances the adhesion of the paint, creating a smooth and even surface.
Step 3: Apply a Layer of Primer to Seal in Moisture
The application of a layer of primer is among the most critical steps in making cardboard waterproof. This layer helps to seal in the moisture present in the cardboard, which makes it more resilient against water damage.
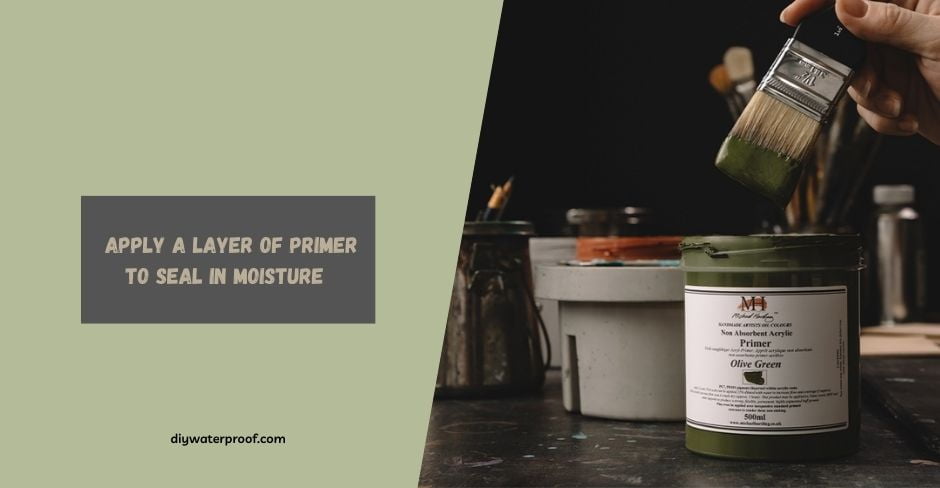
Additionally, it enhances the adhesiveness of the paint, creating a smooth and even surface for the final coat. Primer is essential because cardboard, being a porous material, can absorb moisture easily. Moisture retention causes the cardboard to deteriorate rapidly, thereby reducing its lifespan.
When the primer is applied, it creates a protective film over the cardboard that seals in the moisture, preventing it from absorbing any further.
Furthermore, the primer serves as a bonding agent, allowing the paint to adhere better to the surface of the cardboard. This enhances the durability of the paint job and ensures that it lasts for a longer time.
Additionally, if you choose a waterproof primer, this will make it more effective in preventing water from seeping into the cardboard.
Step 4: Apply a Coat of Paint for Enhanced Durability
After the primer has fully dried, the next step in making your cardboard waterproof is to apply a coat of paint. This layer not only enhances the appearance of the cardboard but also provides maximum protection against water damage, mold growth, and other potential threats.
Choosing the right type of paint is crucial when it comes to creating a waterproof surface on your cardboard. Look for high-quality paint that is explicitly designed to be resistant to water and mold growth.
Water-resistant paint provides a protective layer over the surface of the cardboard, ensuring that it remains dry even in damp conditions.
You can use either spray paint or brush-on paint, depending on your preferences. If you decide to use spray paint, it’s important to ensure that you apply it evenly and at the correct distance to avoid dripping or uneven coverage.
Brush-on paint requires a bit more effort, but it allows for greater precision and control, giving you a more polished finish.
Applying a coat of paint not only protects your cardboard from water damage but also enhances its durability.
Paint acts as a shield, preventing water from penetrating the cardboard, which can weaken its structure and make it susceptible to damage.
A layer of paint also gives the cardboard a sleek finish and makes it more resistant to scratches, stains, and other types of wear and tear.
Step 5: Seal the Surface with a Clear Sealer
Once the paint has fully dried, you can proceed to the next step in making your cardboard waterproof – applying a layer of clear sealer. This topcoat provides an extra layer of protection against water damage and helps to extend the lifespan of your cardboard.
A clear sealer is a clear, protective, and waterproof coating that is applied to the surface of the painted cardboard. It creates a barrier, preventing water from penetrating the paint and reaching the underlying cardboard.
Clear sealers are available in different formulations, so be sure to select one that is compatible with the type of paint you used.
Applying a clear sealer is easy. Use a brush or a spray can, depending on the formulation and size of the surface area you are working on. The clear sealer should be applied in thin, even coats to ensure that it doesn’t drip or bubble up.
Wait for each layer to dry before applying the next, and make sure to follow the manufacturer’s instructions for cure time.
Step 6: Allow All Layers to Dry Completely
One crucial factor in making your cardboard waterproof is allowing all the layers to dry completely. Rushing the process of applying a new layer before the previous one has dried can lead to uneven coverage and poor adhesion, jeopardizing the effectiveness of the waterproofing.
Primer, paint, and clear sealer each require a certain amount of time to dry fully. This period can vary depending on several factors, including the type of material, humidity, and temperature.
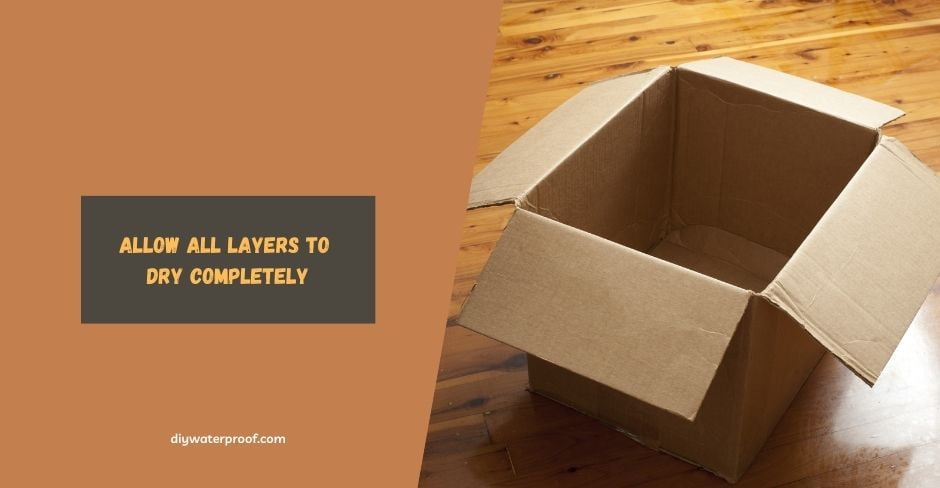
It’s essential to follow the manufacturer’s instructions on the label and allow ample time for each layer to dry and cure completely before proceeding to the next. Damp cardboard is susceptible to mold and mildew growth, which can lead to foul odors and health hazards.
Allowing each layer to dry thoroughly ensures that there is no moisture trapped beneath the surface and that the material is free from any contaminants that can compromise its integrity. It also ensures that the layers bond together correctly, creating a cohesive and durable waterproof surface.
With these simple steps, you can have peace of mind knowing that your cardboard possessions or DIY projects will be safe from water damage.
You’ll be able to confidently move your belongings without having to worry about the weather or showcase your creative projects to the world without fear of damage.
Conclusion
In conclusion, making cardboard waterproof is a simple process that you can do at home with just a few materials and some patience.
By following the steps outlined above on how to make cardboard waterproof at home, you can protect your cardboard from water damage, mold growth, and other potential threats, and ensure that it lasts for a long time.
Remember to clean and prep the surface properly, apply a layer of primer, paint your cardboard, and finish with a clear sealer.
With the right tools and techniques, your waterproofed cardboard will be ready to face even the toughest challenges. So why wait? Start making your cardboard waterproof at home today!
Related Articles:
